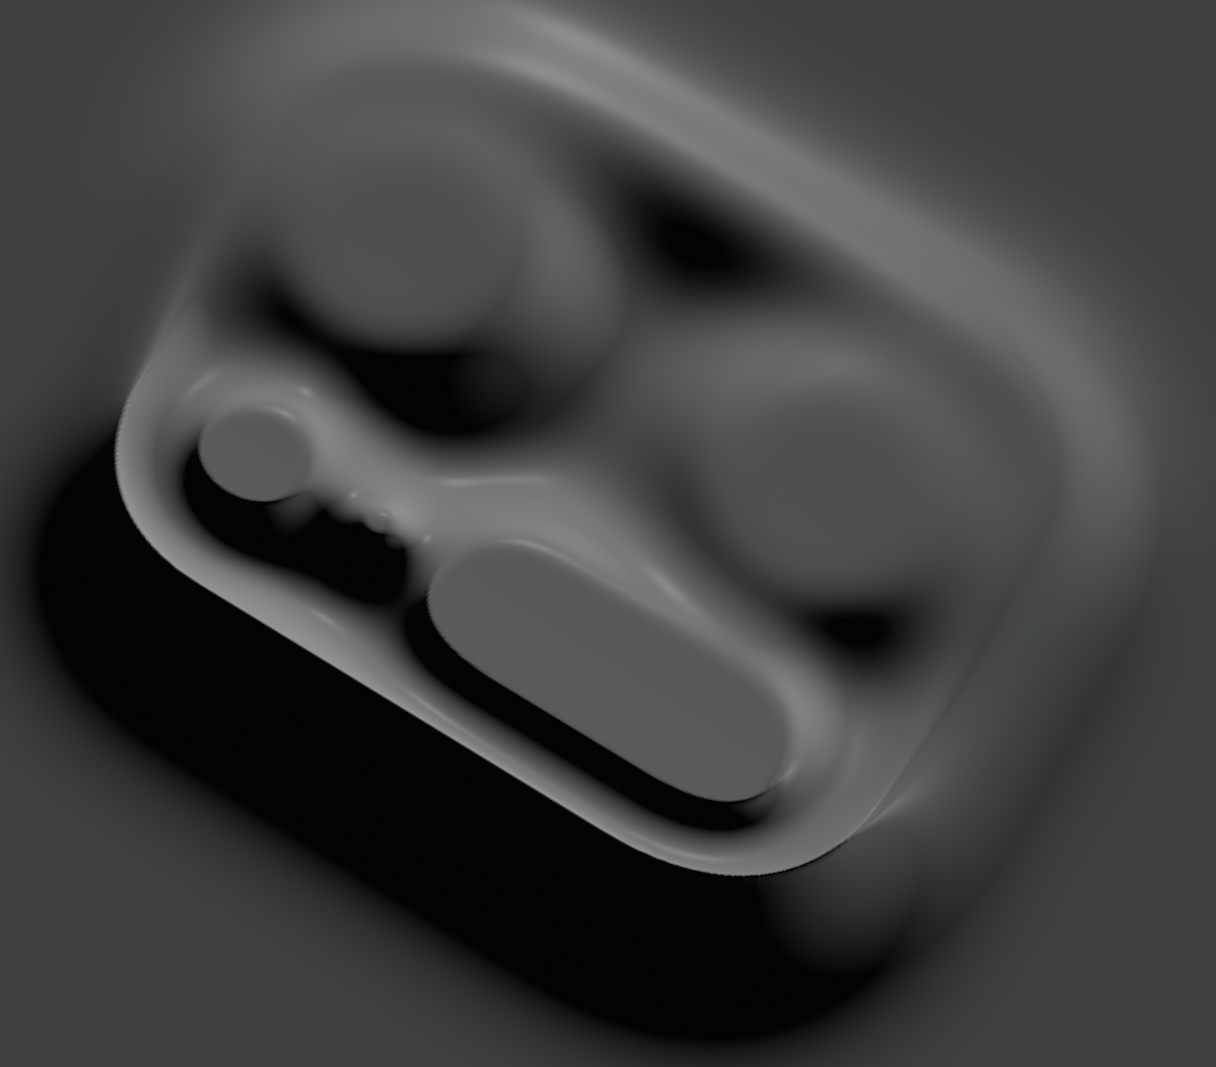
OPPO FIND X5
Promo
# Reference & Mood
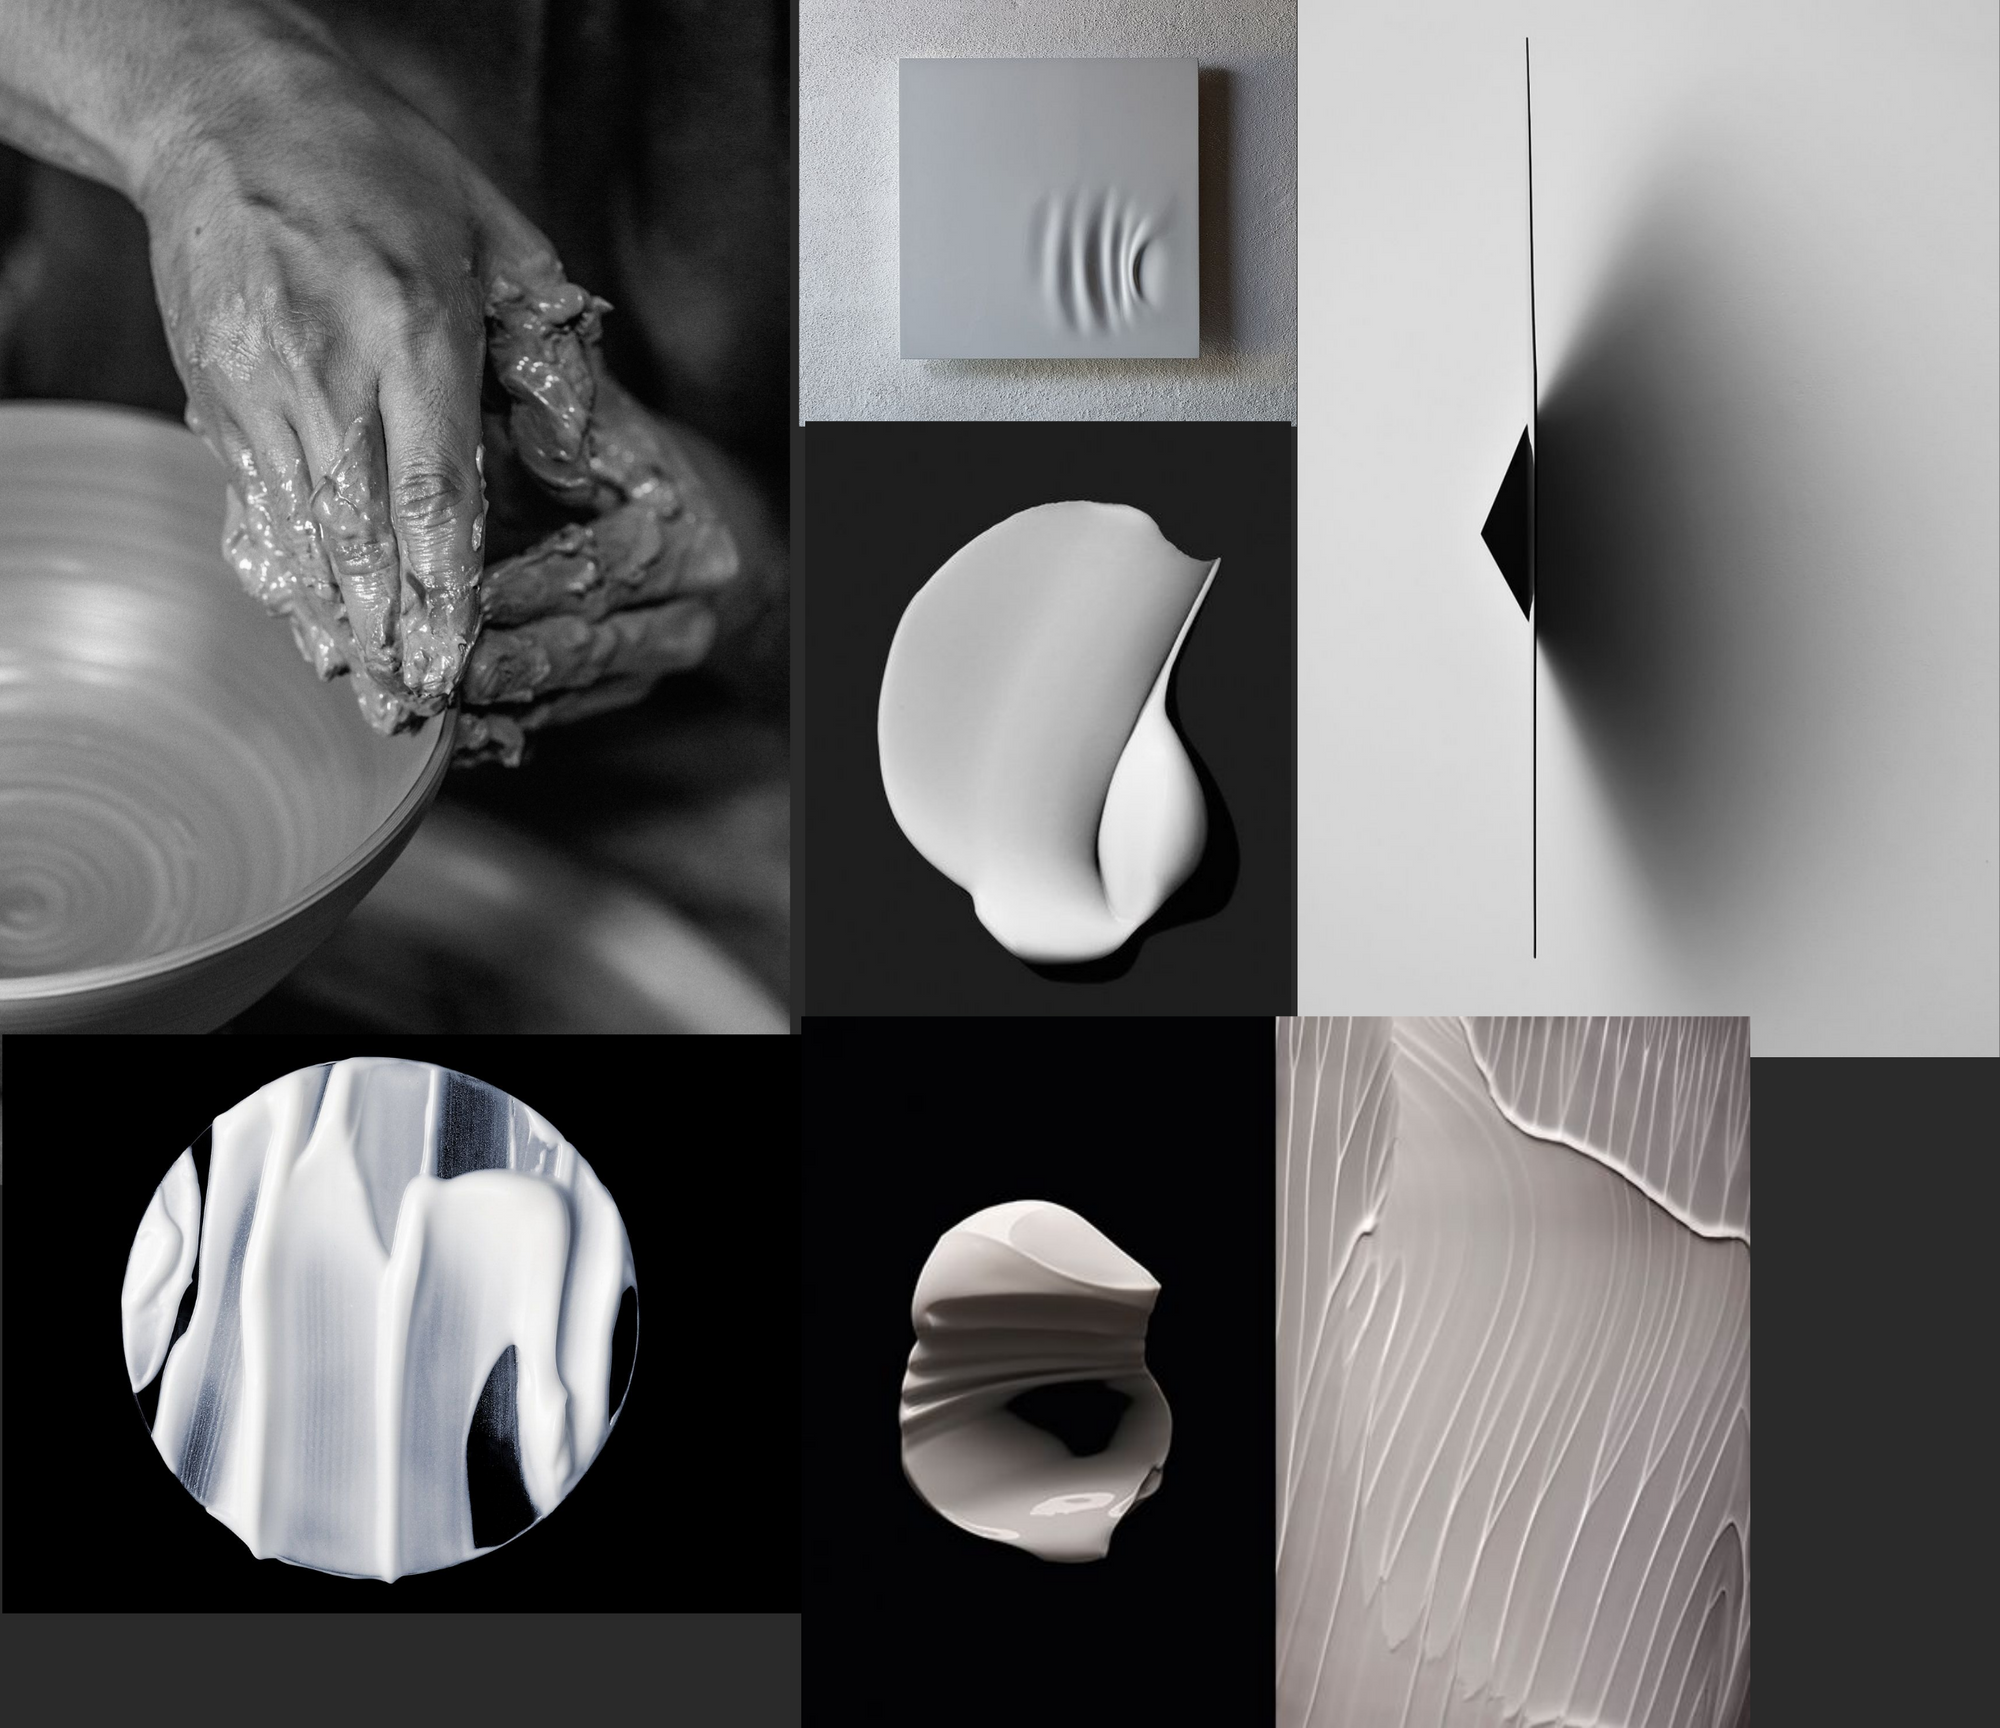
Keywords : Ceramic | Invisible Hand | Shape | Liquid | 75°
We hope to present the product in the most primitive way of ceramic handicraft.
Through the guidance of "hand" to show its warmth and delicacy between the boundary of virtual and the reality, also the shaping process of warm and comfortable material is reflected.
# Final Promo
# Early Developments
Morphing
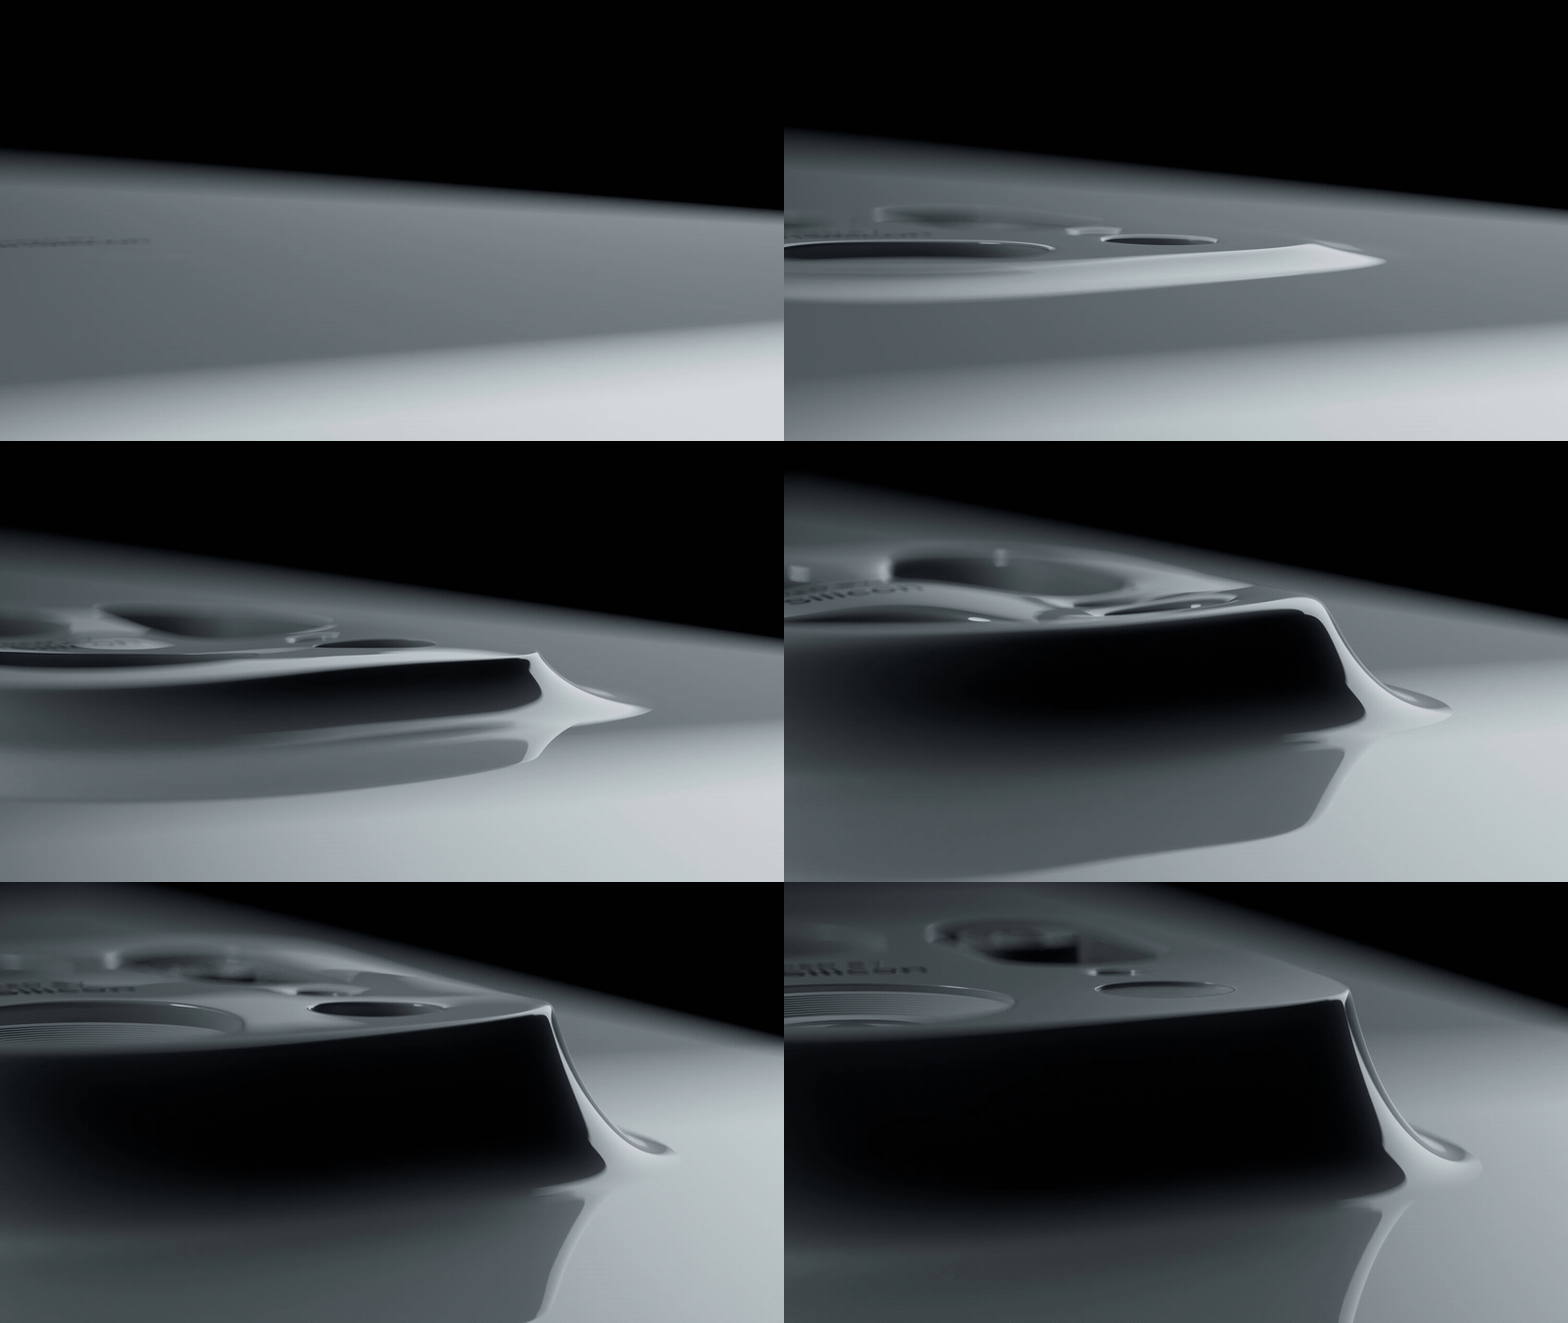
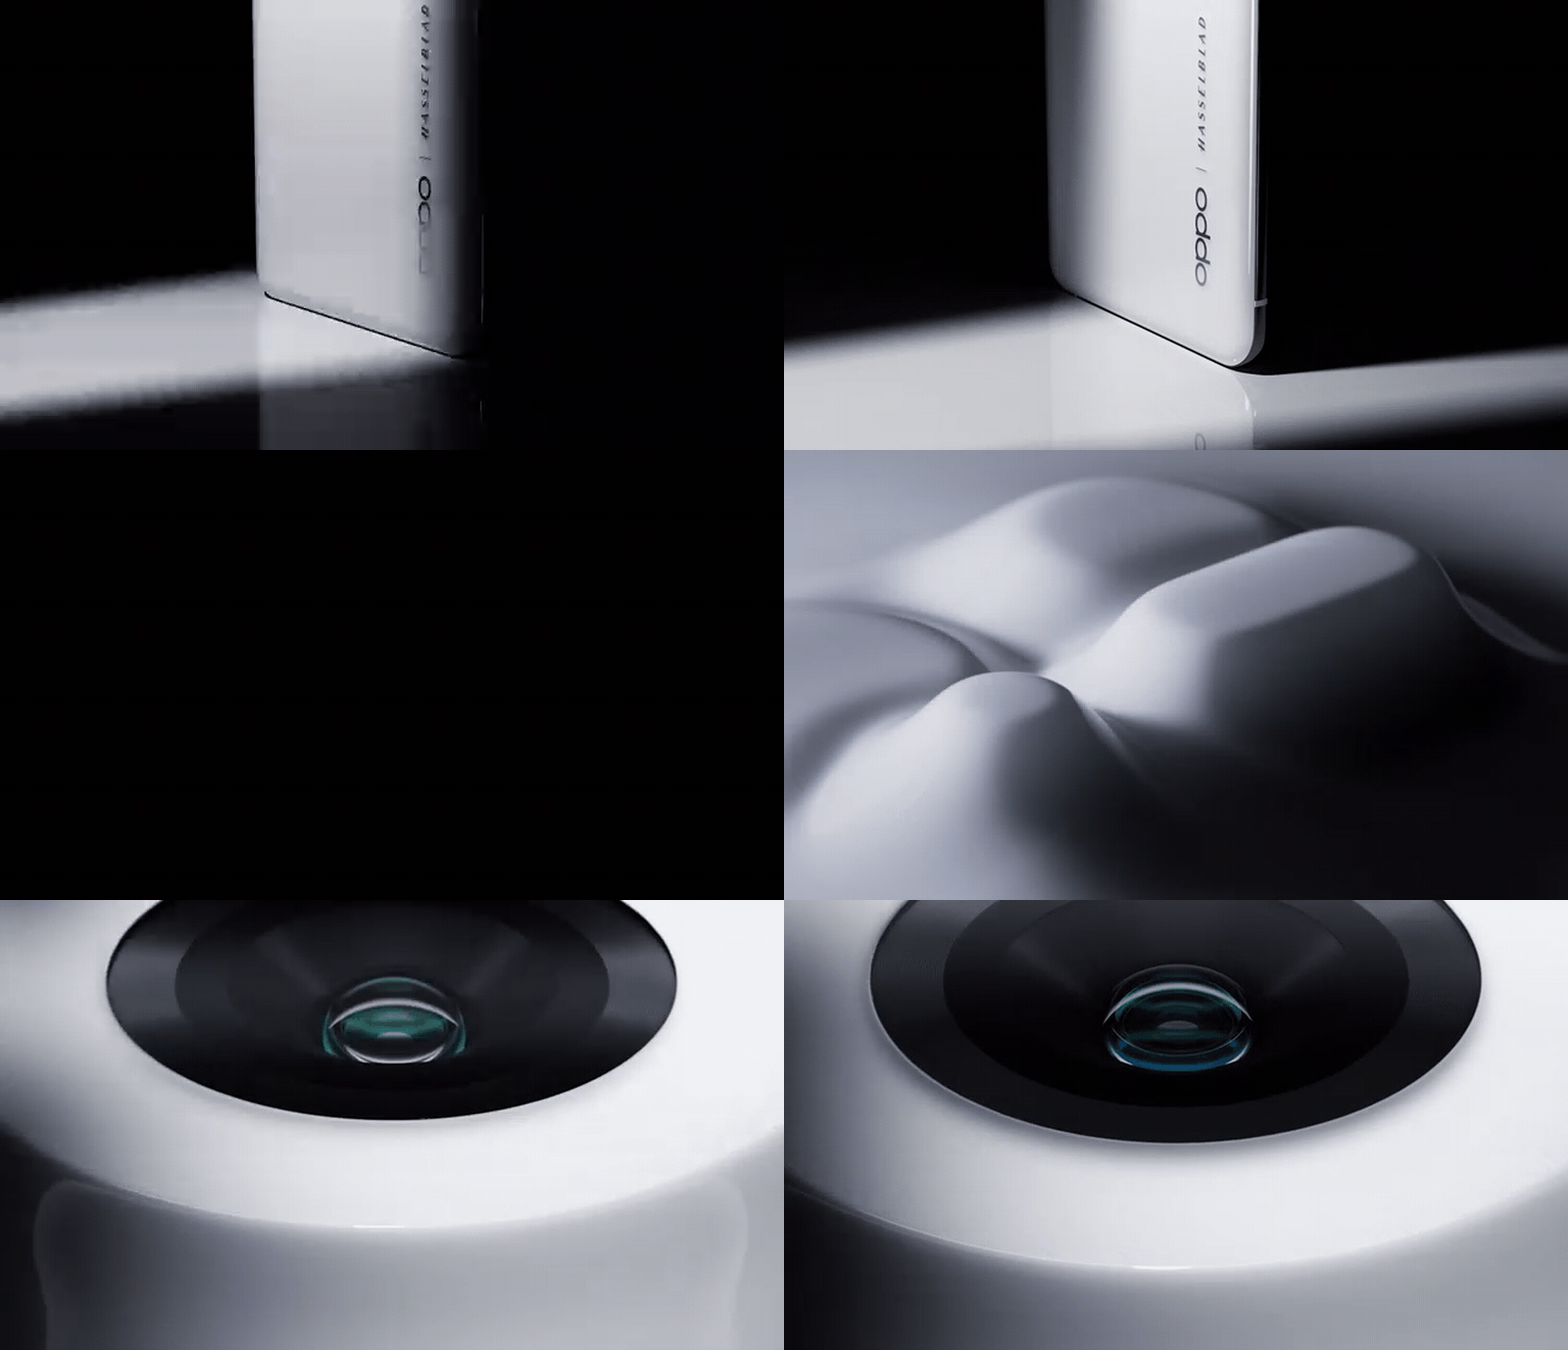


Ceramics & Clay R&Ds
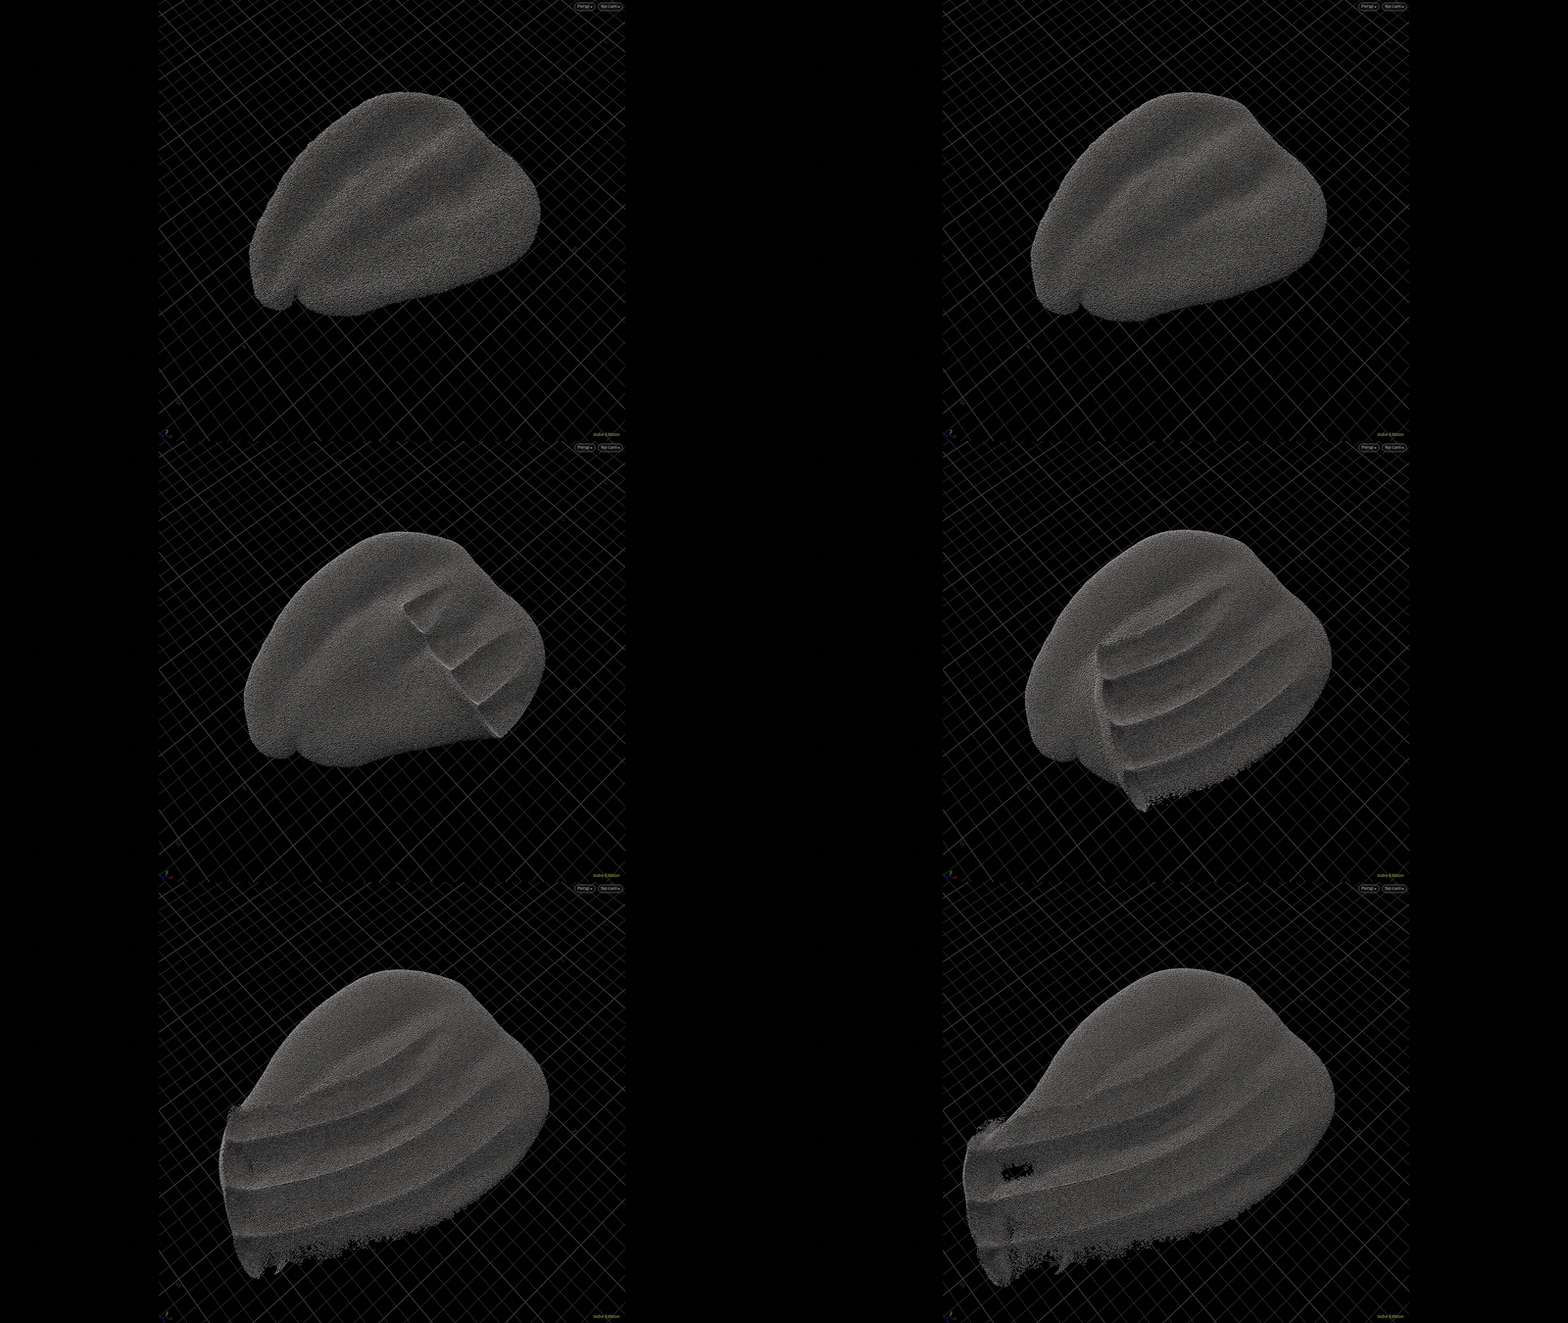
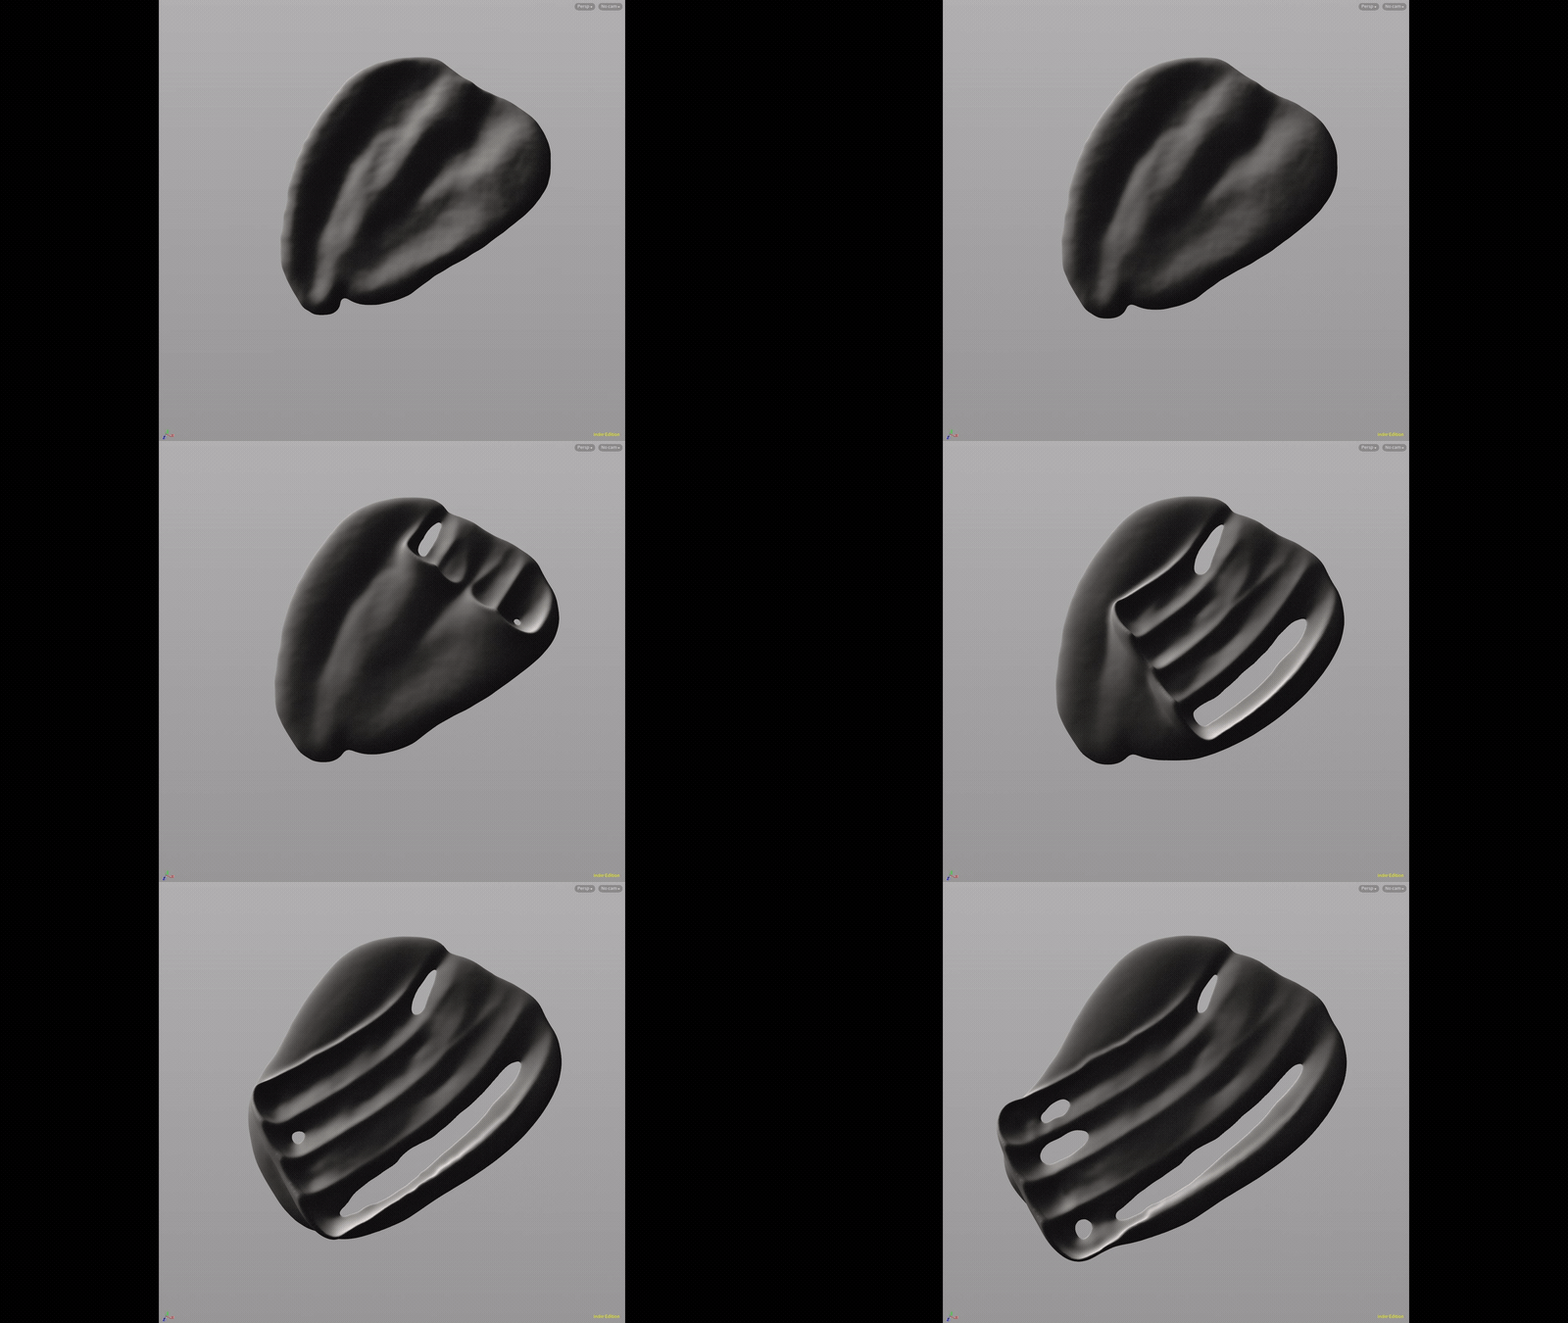
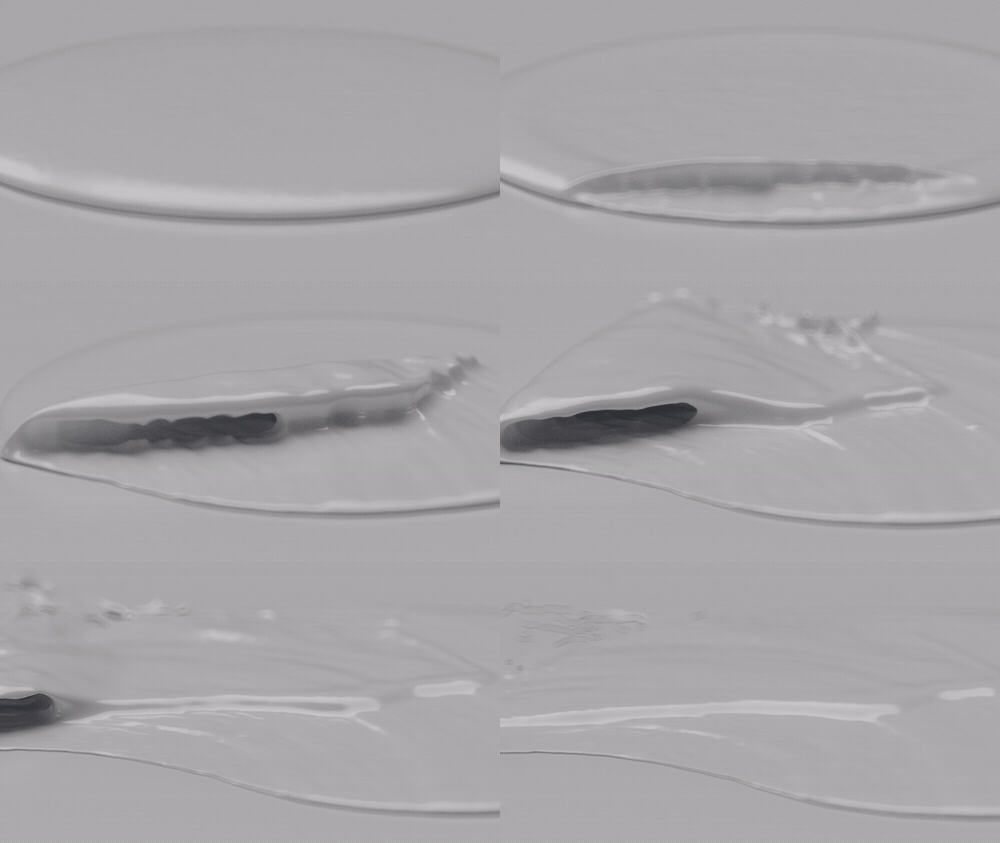

Liquid & Ripple

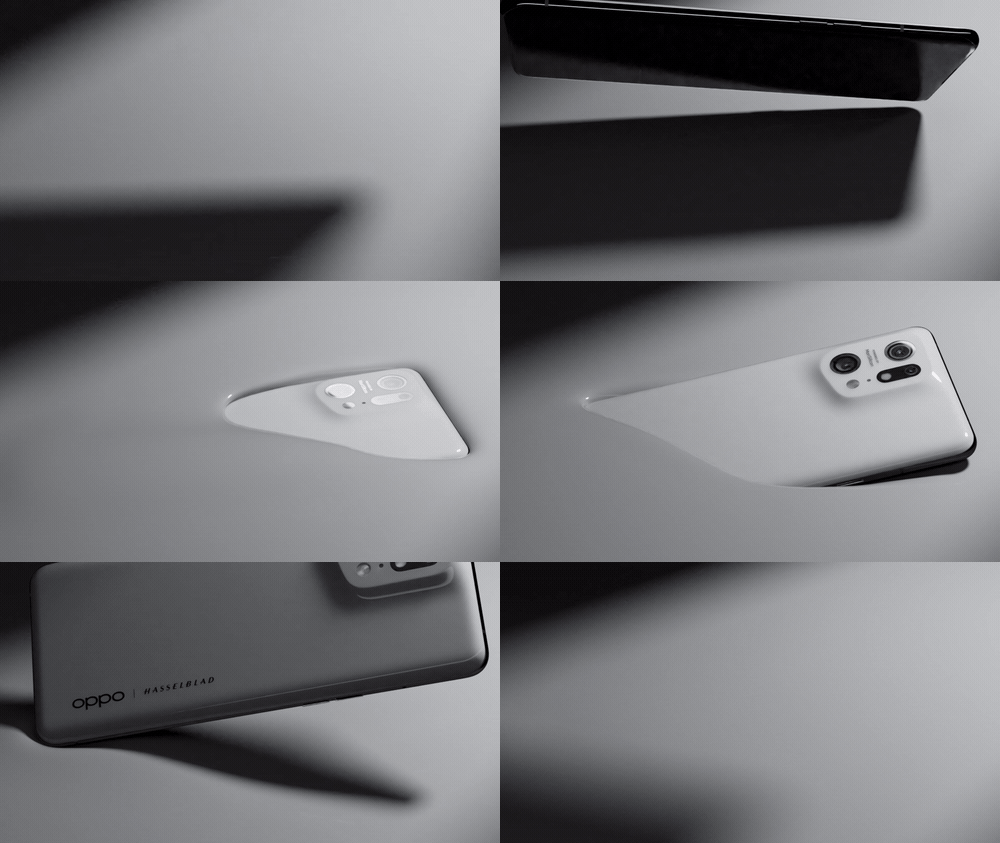
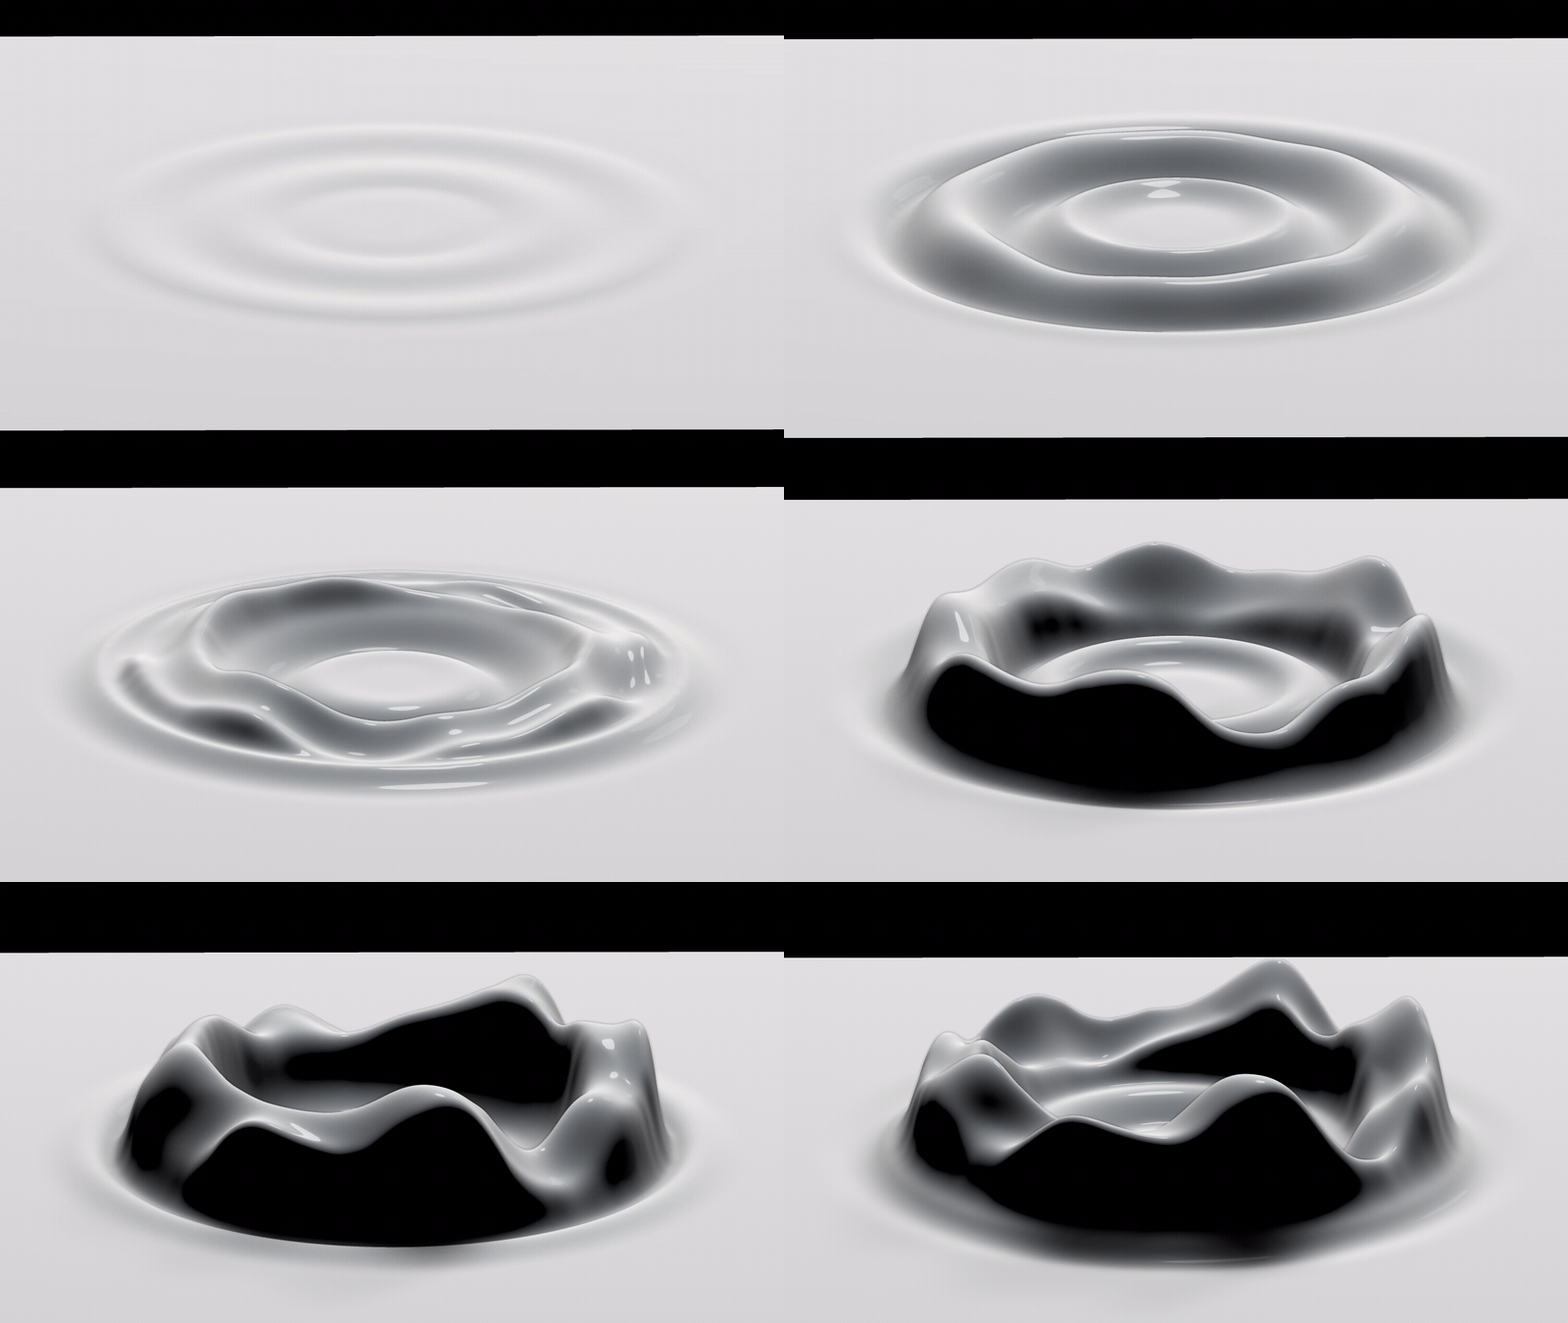

VDB Fluid
to create a touching feeling on the boundary of fluid & solid.
Using a technique from “Mograph Liquids | Mark Fancher | OFFF HIVE“


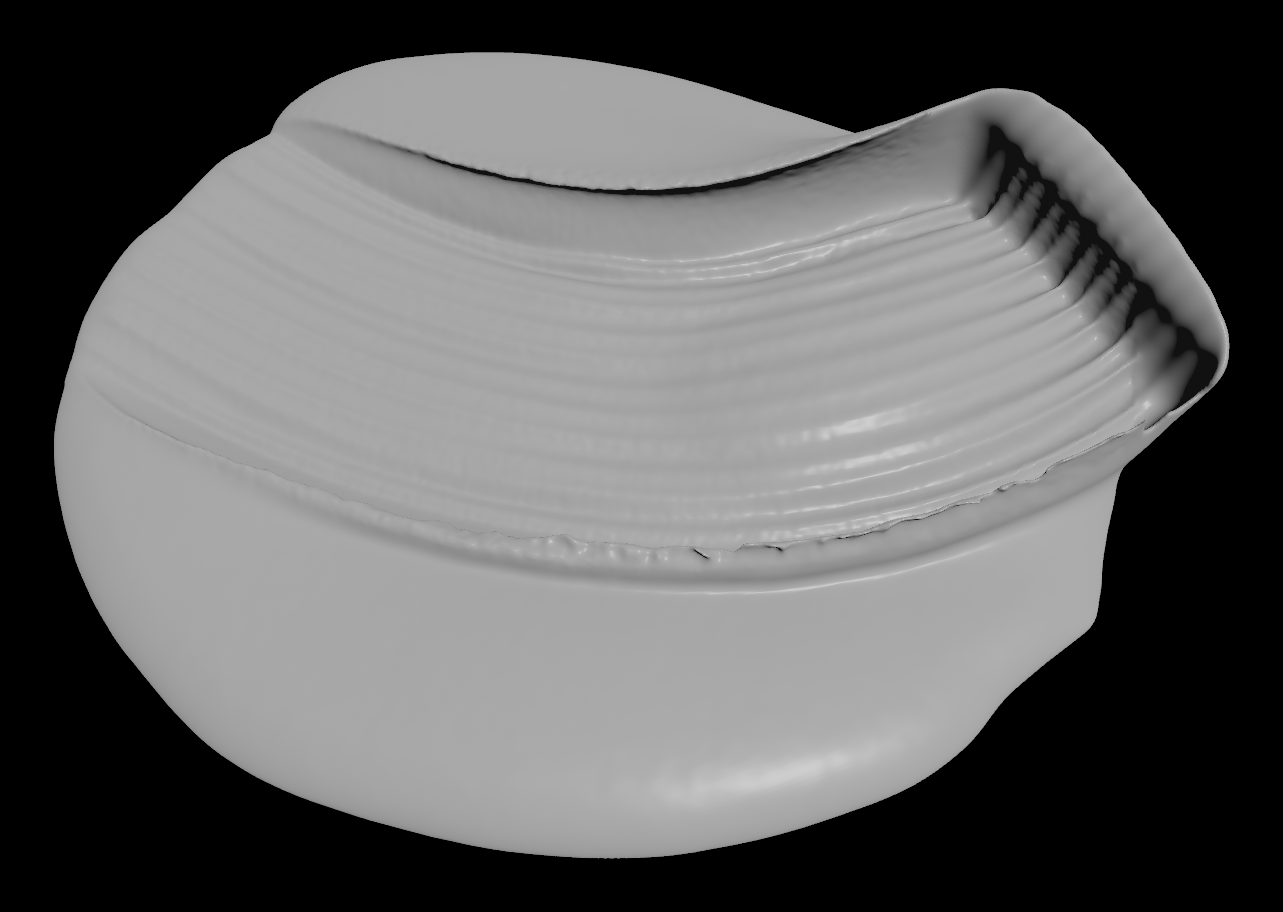
Procedrual Brush Assets


# BTS
- Blur & Sharp surface -
1 Using xyzdist to fetch distance attribute and ramp it into @distance.
float dist = xyzdist(1, @P);
float min = chf("min");
float max = chf("max");
dist = fit(clamp(dist, min, max), min, max, 0.0, 1.0);
f@distance = dist;
f@weight = 1 - dist;
There is also a alternative way to approach attributes steal effects: ( from CGWiki )
int pt = nearpoint(1,@P);
 vector pos = point(1,'P',pt);
 vector col = point(1,'Cd',pt);
 float d = distance(@P, pos);
 d = fit(d, 0, ch('radius'), 1,0);
 d = clamp(d,0,1);
 @Cd = col*d;
2 Connect into a Point VOP : displace along normal to add a bit displacement to the surface using @distance, so the surface points (Input 1) that are closer with Input 2 will be pushed higher.
3 Attribute blur, smoothen the surface using @weight, and using a curve ramp to control the contrast.

4 With this setup we can now apply more dynamics.
like carve a curve to make a trim effects , or add a ripple to the grid, and using the displaced surface as reference etc.
